Skip to content
fltrd
WATER
Home
Shop
How It Works
Installation
Subscriptions
Blog
FAQ
Contact
Home
Shop
How It Works
Installation
Subscriptions
Blog
FAQ
Contact
Shop
$
0.00
0
Cart
fltrd
WATER
Home
Shop
How It Works
Installation
Subscriptions
Blog
FAQ
Contact
$
0.00
0
Cart
Installation,
simplified.
Mount, connect, and start pouring cleaner water in under an hour.
No drilling required in most setups
No electricity or Wi‑Fi needed
Renter-friendly and removable
Download installation guide
Watch installation video
What's in the box.
Everything you need comes included. No extra trips to the hardware store.
3-Stage Housing Unit
Three Filter Cartridges
Mounting Bracket & Hardware
Tubing & Connectors
Quick-Start Guide
Tools you may need.
Most installations use only basic tools you already have.
Adjustable wrench
Screwdriver (if screws are used)
Towel or small bucket (for any residual water)
Wrench
Screwdriver
Towel
Step-by-step installation.
1
Choose your mounting spot
Place near your sink or under the counter. Ensure easy access for future filter changes.
2
Attach the mounting bracket
Use the included adhesive or screws. No major drilling needed — completely renter-friendly.
3
Hang the fltrd WATER unit
Slide the housing unit onto the bracket until it clicks into place.
4
Connect the inlet line
Connect to your existing water line with the provided fittings. Hand-tighten and check.
5
Connect the outlet
Route the clean water line to your faucet or dispenser using the included tubing.
6
Insert and lock in the cartridges
Slide each cartridge (Stage 1, 2, 3) into the correct slot and twist to lock.
7
Flush and check for leaks
Run water for 3–5 minutes. Inspect all connections. You’re ready to pour.
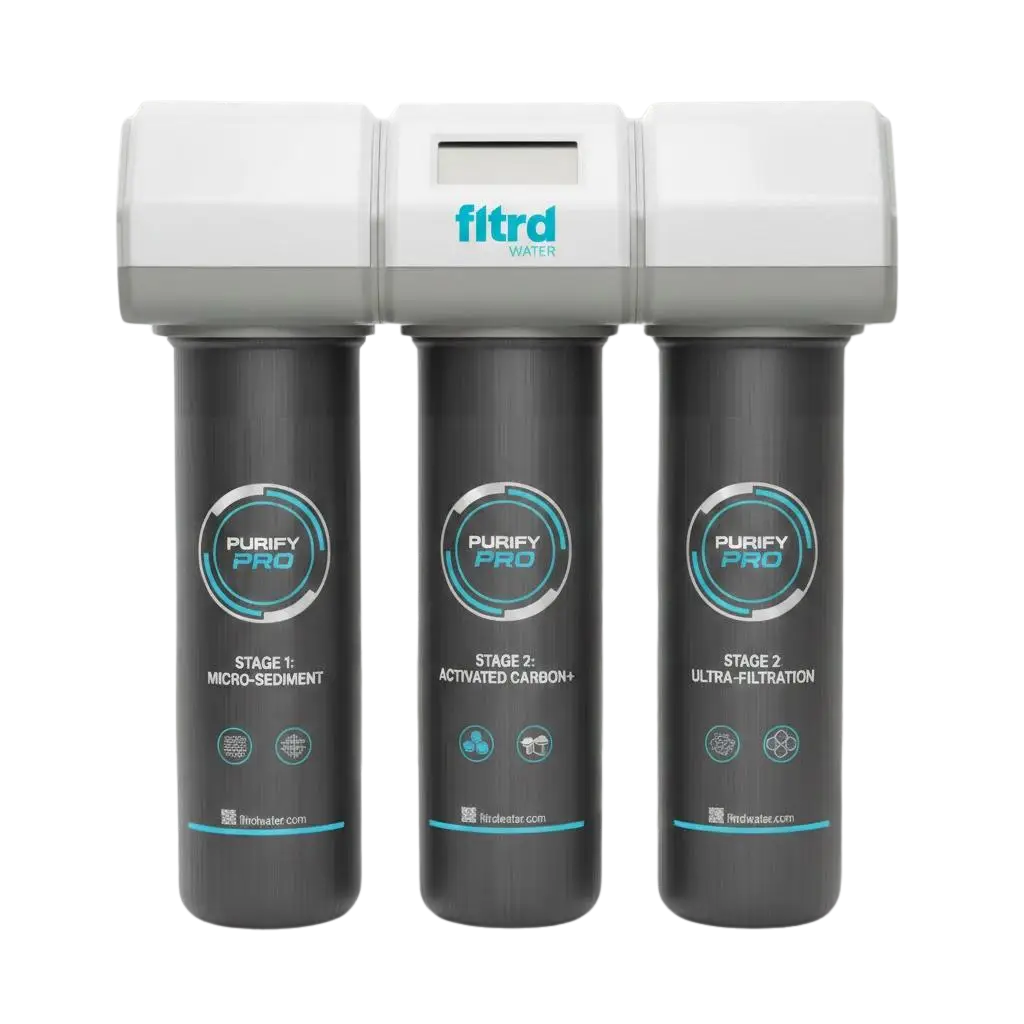
System overview.
Water in
From tap line
PP 5μm
Stage 1
Carbon+
Stage 2
UF 0.01μm
Stage 3
Water out
Clean & filtered
Ideal for renters and
property managers.
No permanent modification required. Install, enjoy, and remove with zero trace when it’s time to move on.
Renters
Remove and take the unit to your next home. No holes, no damage, no deposit worries.
Property managers & hotels
Consistent installation across units. Minimal disruption. Premium guest experience.
Installed once. Enjoyed every day.
Get the 3-stage system delivered and follow the guided installation to start pouring cleaner water.
Shop the 3-Stage System